Introducing the new Appwrite CLI_
The new Appwrite CLI allows you to test your functions locally, easily migrate databases and more.

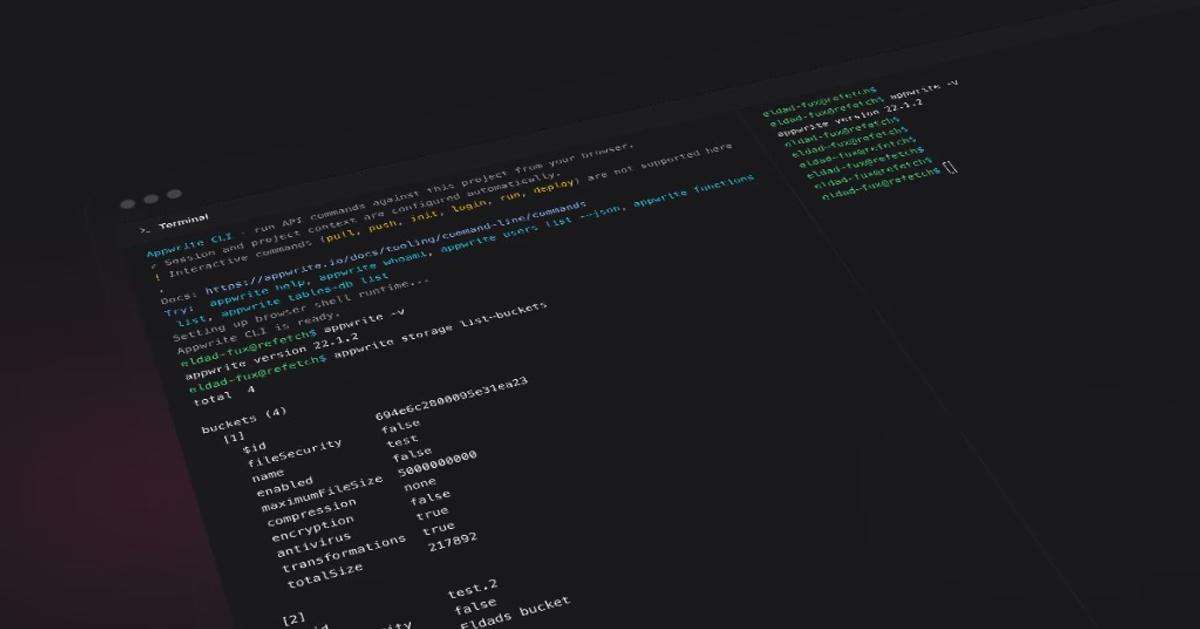
We're excited to announce the new Appwrite CLI. This iteration focuses on local development and an enhanced CI/CD experience. Now, you can test changes to your functions locally, and easily apply changes to your Appwrite table.
Let’s dive into the updates to the new Appwrite CLI and how it will improve your building experience.
Understanding past limitations
Appwrite developers use the current generation of Appwrite CLI to initialize functions and tables and deploy those resources.
When deploying tables, the only option is to override and delete all the table's existing data, which is not the use case for most scenarios.
The only way to test an Appwrite function is to continue deploying the function changes to the Appwrite instance, which can be aggravating for small changes.
In addition, we listened to the community's requests, suggestions, and demands for Appwrite CLI and incorporated the most popular ones into the next generation of our CLI.
The next generation of Appwrite CLI
The new CLI’s main features are:
- Local development: Test your Appwrite function locally
- Data sync: Push and pull data between Appwrite and your CLI in a non-destructive way.
- Headless login: Login to your Appwrite account in a non-interactive manner for CI/CD pipelines
Besides those features, this release includes many improvements, bug fixes, and optimizations.
CLI Flow
When starting to work with the Appwrite CLI, there are two commands you'll need to run. The first is appwrite login
appwrite login> ? What you like to do? Login to an account> ? Enter your email user@appwrite.io> ? Enter your password *****If you have one or more accounts, Appwrite CLI now supports multiple accounts. Run appwrite login again to log in or switch to another account
After successful login, it's time to initialize the project by running appwrite init project
appwrite init project> ? How would you like to start? Link directory to an existing project> ? Choose your organization 668d4668d4668d4> ? Choose your Appwrite project. 668d4701668d4701> ✓ Success: Project successfully linked. Details are now stored in appwrite.config.json file.> ? Would you like to pull all resources from project you just linked? NoYou can optionally pull all existing resources from the new or linked project*.*
The command will create a file named appwrite.config.json in the current directory. This file will include all the project settings and resource details. A good practice is to add this file to your project repo; this will let you use your version control for version management.
To make it easy, we've decided to refactor and unify our terminology for the CLI commands as follows:
appwrite init [service]- for creating Appwrite service locally in an interactive mannerappwrite pull [service]- for pulling Appwrite resource from your remote Appwrite instanceappwrite push [service]- for pushing your local changes to your remote Appwrite instance
This terminology uses git's terminology. We don't have appwrite commit yet, but who knows.
Local development
Appwrite Functions is one of the most loved Appwrite products. It lets you write logic in your favorite language (we support so many languages that it's hard to remember them all) and execute it only when needed!
In this generation, we added the appwrite run command that lets you run your function locally.
The only requirement from your side is to make sure you have Docker installed before running the command.
After running the command appwrite run, Appwrite CLI will prepare and compile your function code (for compiled languages such as Go) and start a local server using the available port access.
Click the provided URL shown on the terminal to request your function directly.
Appwrite CLI is now in listening mode. Try changing your code and seeing how the CLI rebuilds your function to match your recent changes. How cool is that!
Database migration
GitOps is a common way of tracking and migrating database changes. The latest Appwrite CLI generation includes a few features to help you migrate your database changes easily.
When running appwrite push table, the CLI will compare your local appwrite.config.json table definition against the currently deployed remote table and will present you with a detailed table awaiting your decision, for example:
Key       │ Action     │ Reason──────────┼────────────┼─────────────────────────────────────────────times     │ deleting   │ Field isn't available in appwrite.config.json file──────────┼────────────┼─────────────────────────────────────────────time      │ adding     │ Field isn't available on the remote server──────────┼────────────┼─────────────────────────────────────────────timezone  │ recreating │ size changed from 256 to 255
ℹ Info: Column deletion will cause loss of dataℹ Info: Column recreation will cause loss of data? Would you like to apply these changes? Type "YES" to confirm.
In this example, we can see that because we've renamed the column times to time, it will get deleted and re-added. We must also recreate the timezone column because we've changed its size from 256 to 255.
To help with the decision, you can notice two warnings: deleting or recreating a field will cause data loss.
It's important to know that the data loss will affect only the recreated/deleted column and not the whole table.
As you can read in the next section, when pushing tables in CI/CD pipelines, you'll need to add the --force flag.
CI/CD
Adapting CI/CD pipelines ensures robust deployments. To support this, we have rewritten many parts of our CLI to fully accommodate non-interactive actions for all deployment-related commands.
You can add the --force flag to any command that may ask you questions, such as appwrite push tables, to pre-answer all of them with YES. Additionally, you can use the --all flag to push/pull all services' available resources.
Till this generation, Appwrite CLI supported non-interactive login for API-key-based authorization only, as follows:
appwrite client --project-id PROJECT_ID --key APY_KEYIn this version, we've added a headless login, which allows users to log in and execute commands from the user level.
appwrite login --email user@appwrite.com --password passwordMisc
- We've added the
whoamicommand to get a glance at the user who is currently logged in. - Add the
-reportflag to your commands to get an automated link for creating GitHub issues on error. - Use the
-consoleflag in Get/List commands to get a direct console URL in your Appwrite instance.
Resources
Visit our docs to get a detailed look at the new Appwrite CLI. If you want to start with local development immediately, check out our tutorial. Join us on Discord to participate in the discussion, and keep an eye out for more announcements this Init week.