VS Code_
Learn how you can use Appwrite with VS Code and GitHub Copilot for AI-assisted development. Get started quickly with pre-built prompts and connect to the Appwrite MCP server for deeper integration.
1 min read
1. Quick start prompts
Get started quickly with these pre-built prompts for common Appwrite integrations:


2. Add the MCP server
Connect the Appwrite MCP server to VS Code for deeper integration with the Appwrite API and documentation. It is a remote HTTP server, so there are no additional pre-requisites to install.
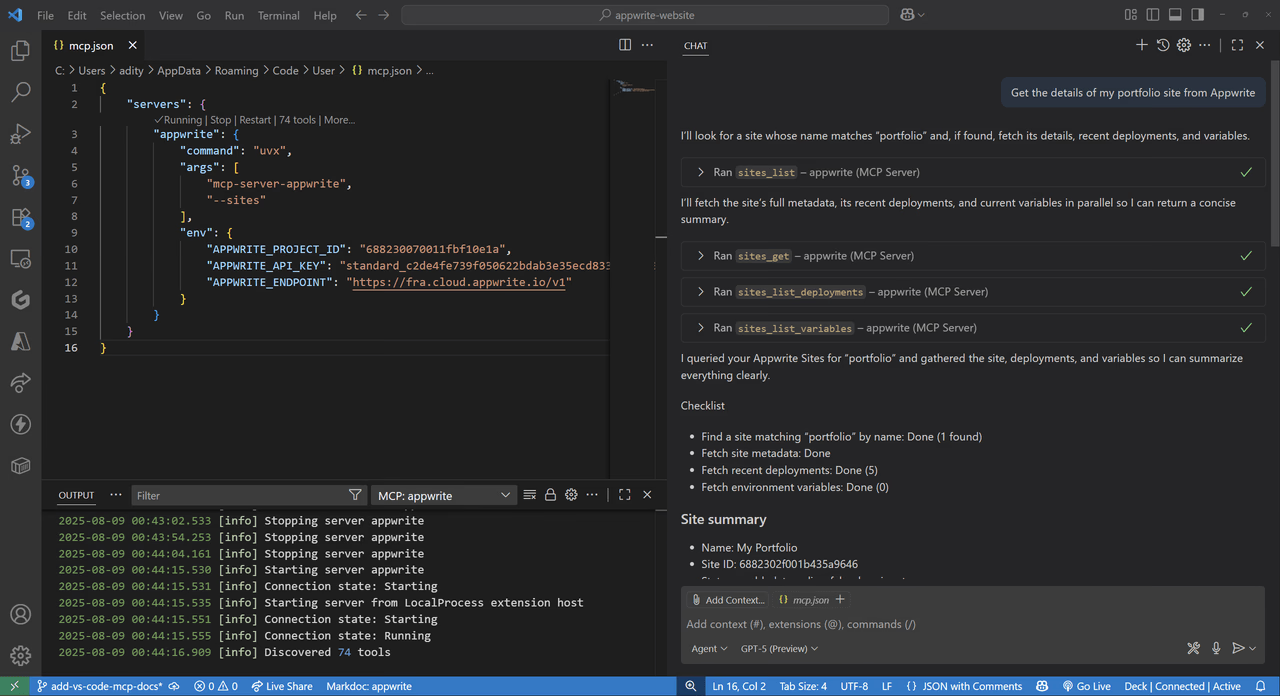
In VS Code, open the Command Palette (press CTRL + Shift + P on Windows or CMD + Shift + P on MacOS) and run the MCP: Open User Configuration command.
Update the mcp.json file to include the Appwrite MCP server:
{ "servers": { "appwrite": { "url": "https://mcp.appwrite.io/", "type": "http" } }}The server uses OAuth for authentication. When the server starts, VS Code prompts you to authenticate, and your browser opens so you can sign in to your Appwrite account and authorize access.
You can also directly add the MCP server to VS Code using the following link:

Once you save the configuration, Copilot Chat will connect with the MCP server and load all available tools.
3. Test the integration
Open Copilot Chat in VS Code and switch to Agent Mode to test your MCP integration. You can try out the following example prompts:
Example prompts:
Create a new user in my Appwrite projectList all databases in my projectShow me the tables in my databaseHow do I set up real-time subscriptions in Appwrite?Show me how to authenticate users with OAuthHow do I implement file uploads with Appwrite Storage?
Was this page helpful?
Share what worked or what we should fix. Once approved, our agents automatically apply suggested updates to the docs.