Claude Code_
Learn how to use Claude Code with Appwrite through the Appwrite plugin, quick start prompts, and the Appwrite MCP server for AI-assisted development.
2 min read
1. Install the Appwrite plugin
The fastest way to get started with Appwrite in Claude Code is to install the Appwrite plugin from the official marketplace. The plugin includes agent skills for the CLI and all major SDKs, giving Claude Code the context it needs to work with your Appwrite projects.
To install the plugin, run the following command in your terminal:
claude plugin install appwrite@claude-plugins-officialOnce installed, run Claude Code and configure the plugin:
- Run
/pluginsin Claude Code. - Go to the Installed tab.
- Select the Appwrite plugin from the list.
- Choose Configure options.
- Enter your Appwrite endpoint, project ID, and API key when prompted.
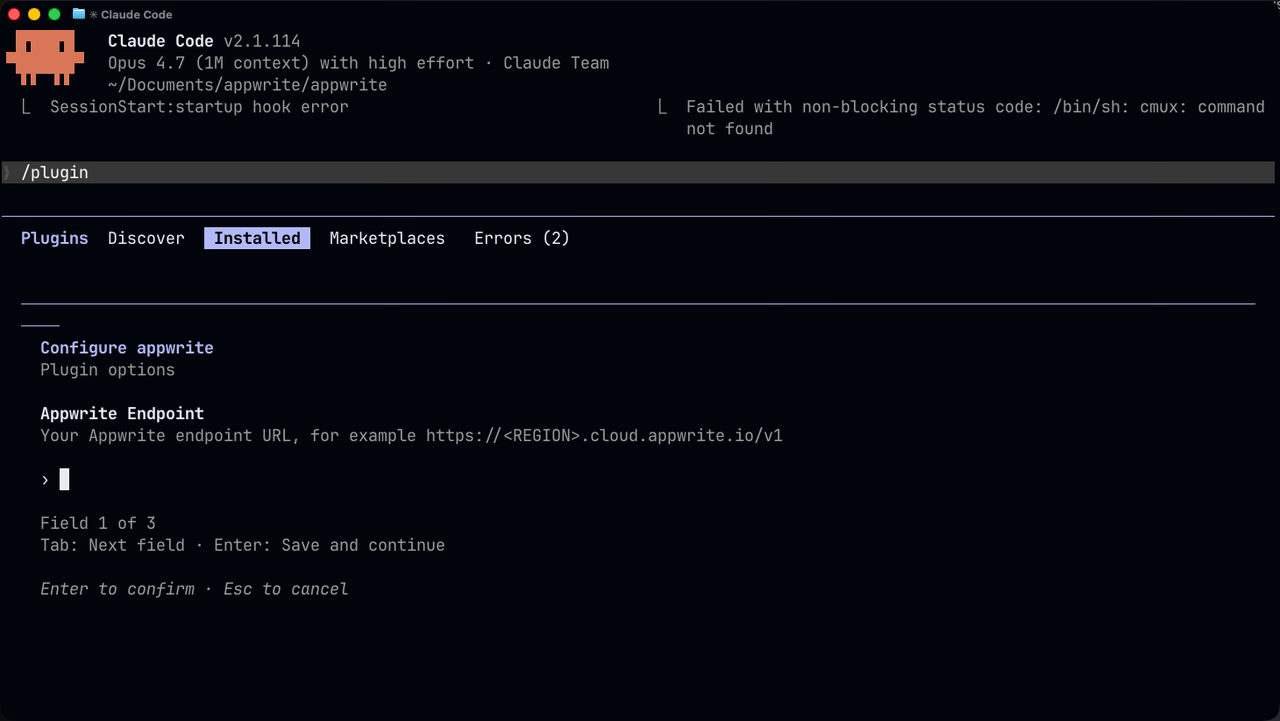
After saving the configuration, run /reload-plugins to apply the changes to your current session. The plugin options configure agent skills. Add the remote Appwrite MCP server in Step 3 so Claude Code can call Appwrite APIs and search the documentation through OAuth.
If you'd rather configure the MCP server on its own, skip to Step 3.
2. Quick start prompts
Get started quickly with these pre-built prompts for common Appwrite integrations:


3. Add the MCP server
Connect the Appwrite MCP server to Claude Code for deeper integration with the Appwrite API and documentation. It is a remote HTTP server, so there are no additional pre-requisites to install.
Run the following command in your terminal to add the MCP server:
claude mcp add --transport http appwrite https://mcp.appwrite.io/The server uses OAuth for authentication. Run /mcp in Claude Code, select appwrite, and choose Authenticate. Your browser opens so you can sign in to your Appwrite account and authorize access.
If you run Claude Code on a remote host, log in from the shell with --no-browser:
claude mcp login appwrite --no-browserOpen the printed authorization URL in a browser on your local machine, sign in, and authorize access. After you approve, copy the full http://localhost:.../callback URL from the address bar and paste it into the Claude Code prompt. Use an interactive SSH session (ssh -t) so the prompt can accept the paste. This is the same localhost-callback pattern described in Authenticate from a remote machine.
4. Verify MCP tools
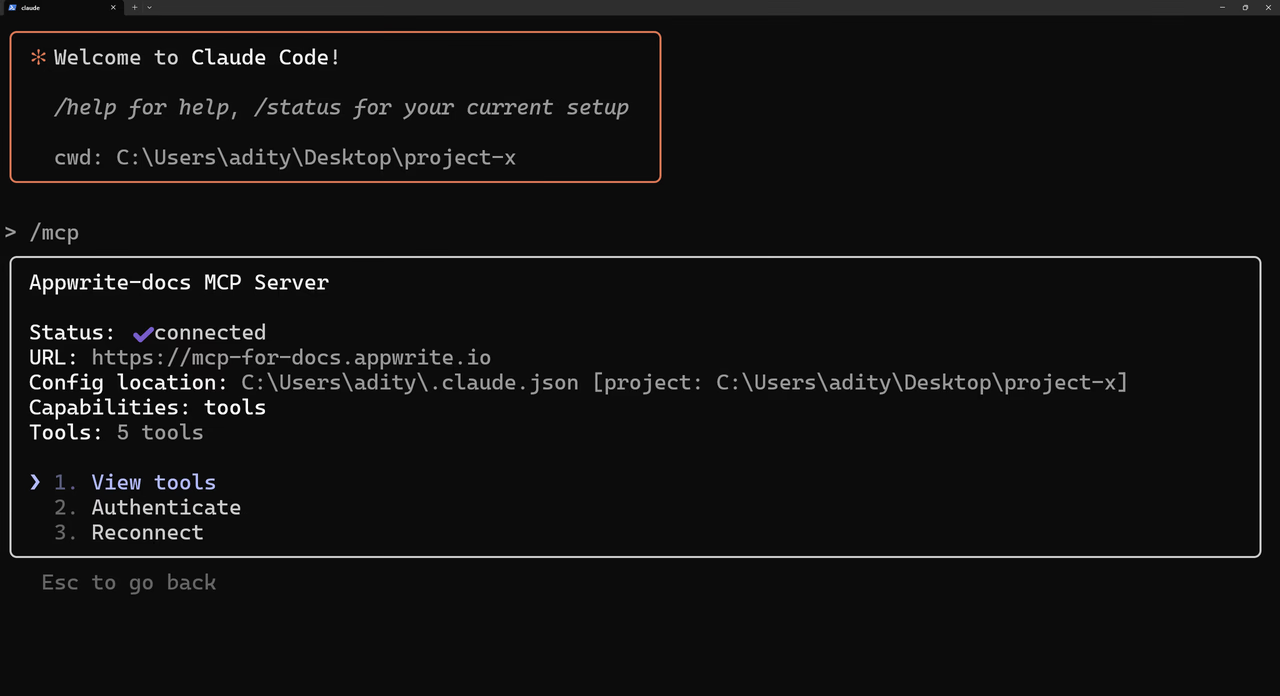
Run the following command in your terminal (where Claude Code is running).
/mcpYou should see the added MCP server listed there.
5. Test the integration
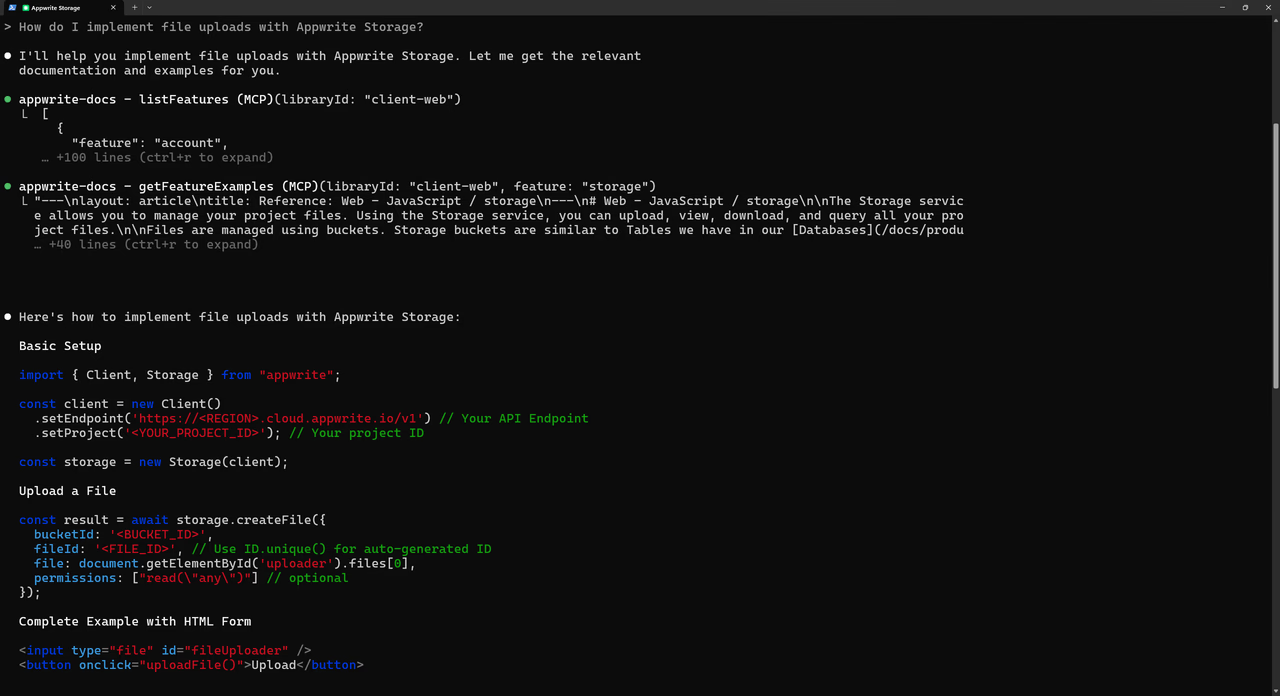
Try out the following example prompts:
Example prompts:
Create a new user in my Appwrite projectList all databases in my projectShow me the tables in my databaseHow do I set up real-time subscriptions in Appwrite?Show me how to authenticate users with OAuthHow do I implement file uploads with Appwrite Storage?
Was this page helpful?
Share what worked or what we should fix. Once approved, our agents automatically apply suggested updates to the docs.