Start with DocumentsDB_
Get started with Appwrite DocumentsDB. Follow a step-by-step guide to create your first database, add a collection, and perform basic document operations.
1 min read
1. Create database
Head to your Appwrite Console and click Create database. Name it Oscar and choose DocumentsDB as the database type. Optionally, add a custom database ID. Select your preferred tier, then click Create database.
2. Create collection
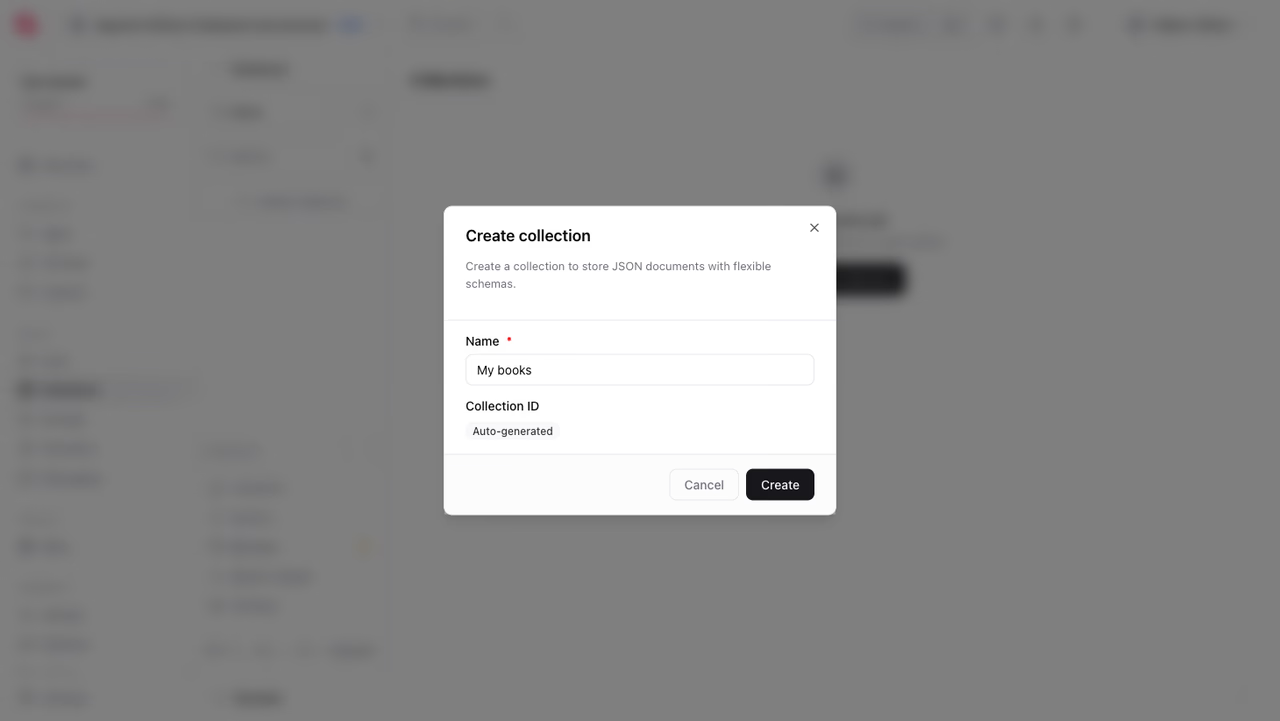
In the Oscar database, click Create collection and name it My books. Optionally, add a custom collection ID.
Collections are schemaless, so there are no columns to define. Each document holds its own fields as flexible JSON.
Open the collection's Security tab. Under Permissions, add a new role Any and check Create and Read, so anyone can create and read documents. Click Update to save.
3. Create documents
To create a document use the createDocument method.
In the Settings menu, find your project ID and replace <PROJECT_ID> in the example.
Navigate to the Oscar database, copy the database ID, and replace <DATABASE_ID>. Then, in the My books collection, copy the collection ID, and replace <COLLECTION_ID>.
The response should look similar to this.
{ "title": "Hamlet", "$id": "6a423aa70000c39da0be", "$sequence": "019f12b5-1c89-7094-8d12-5b7e7a09f025", "$permissions": [], "$createdAt": "2026-06-29T09:28:07.047+00:00", "$updatedAt": "2026-06-29T09:28:07.047+00:00", "$databaseId": "650125c64b3c25ce4bc4", "$collectionId": "650125cff227cf9f95ad"}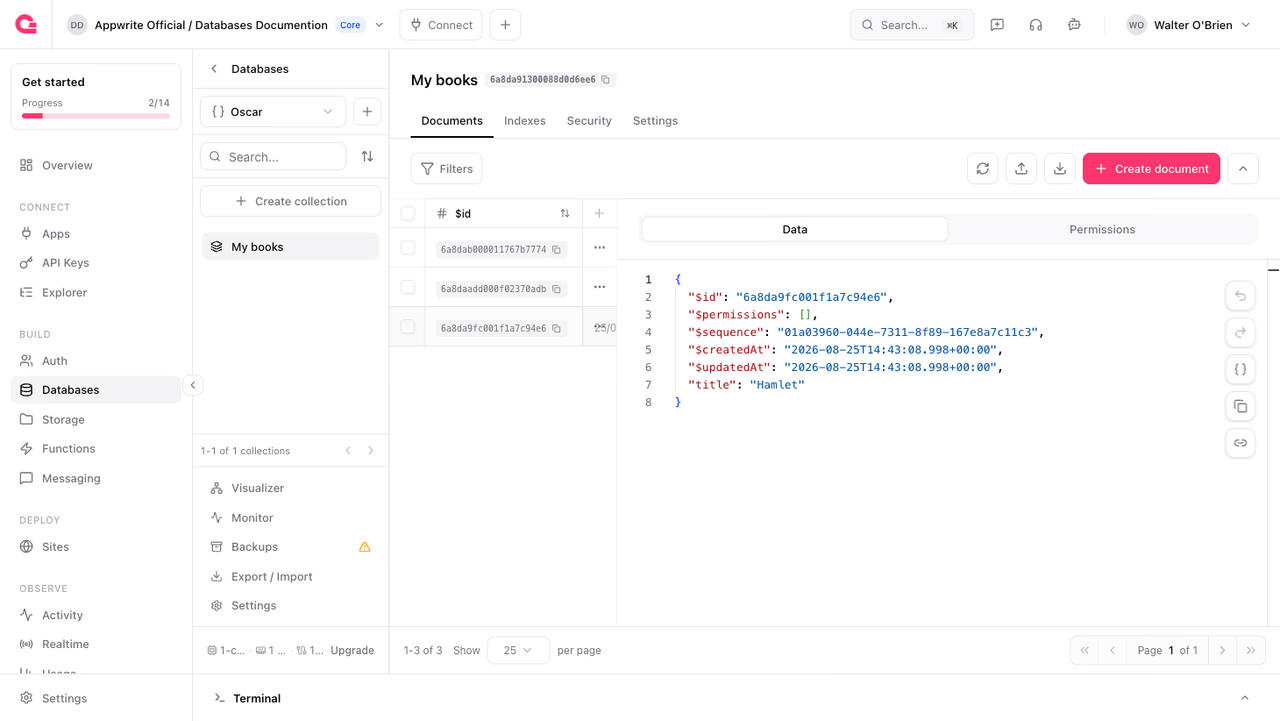
4. List documents
To read and query data from your collection, use the listDocuments endpoint.
Like the previous step, replace <PROJECT_ID>, <DATABASE_ID>, and <COLLECTION_ID> with their respective IDs.
Was this page helpful?
Share what worked or what we should fix. Once approved, our agents automatically apply suggested updates to the docs.