Resend lets you send customized email messages to your users. These emails can be sent immediately or scheduled. You can send emails for purposes like reminders, promotions, announcements, and even custom authentication flows.
1. Add provider
To add Resend as a provider, navigate to Messaging > Providers > Add provider > Email.
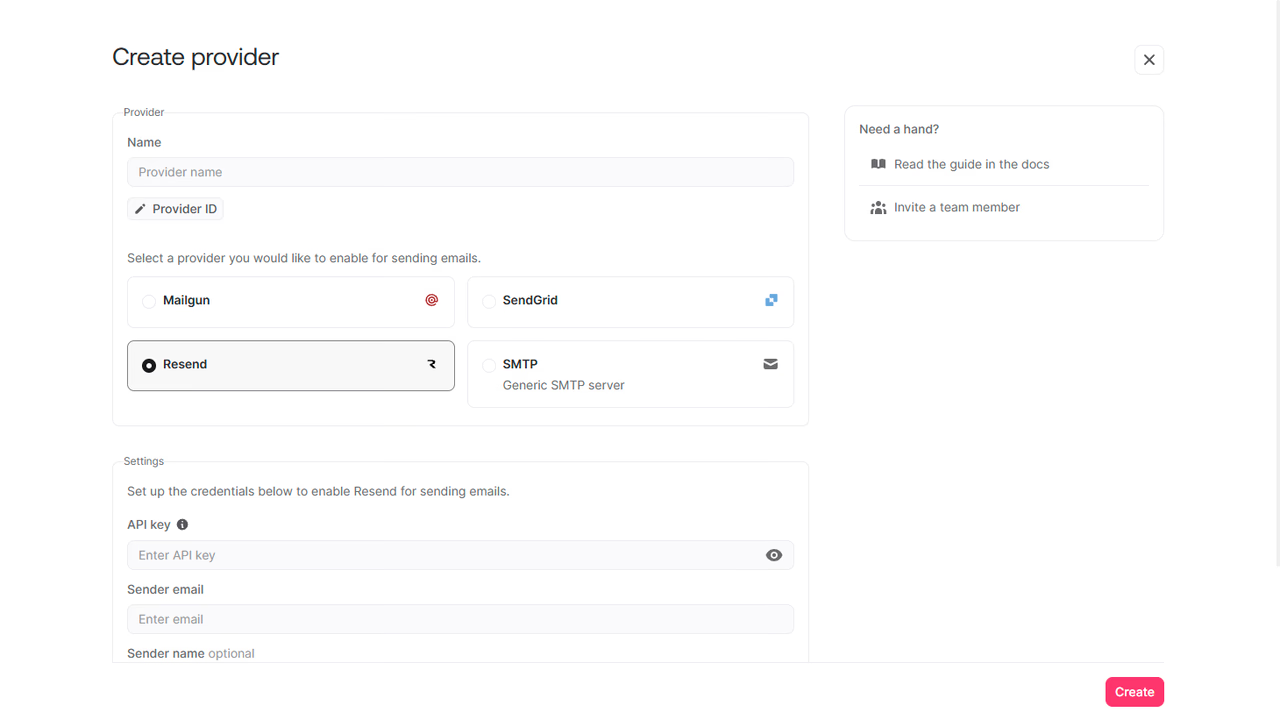
Give your provider a name > choose Resend > click Save and continue. The provider will be saved to your project, but not enabled until you complete its configuration.
2. Configure provider
In the Configure step, you will need to provide details from your Resend dashboard to connect your Appwrite project.
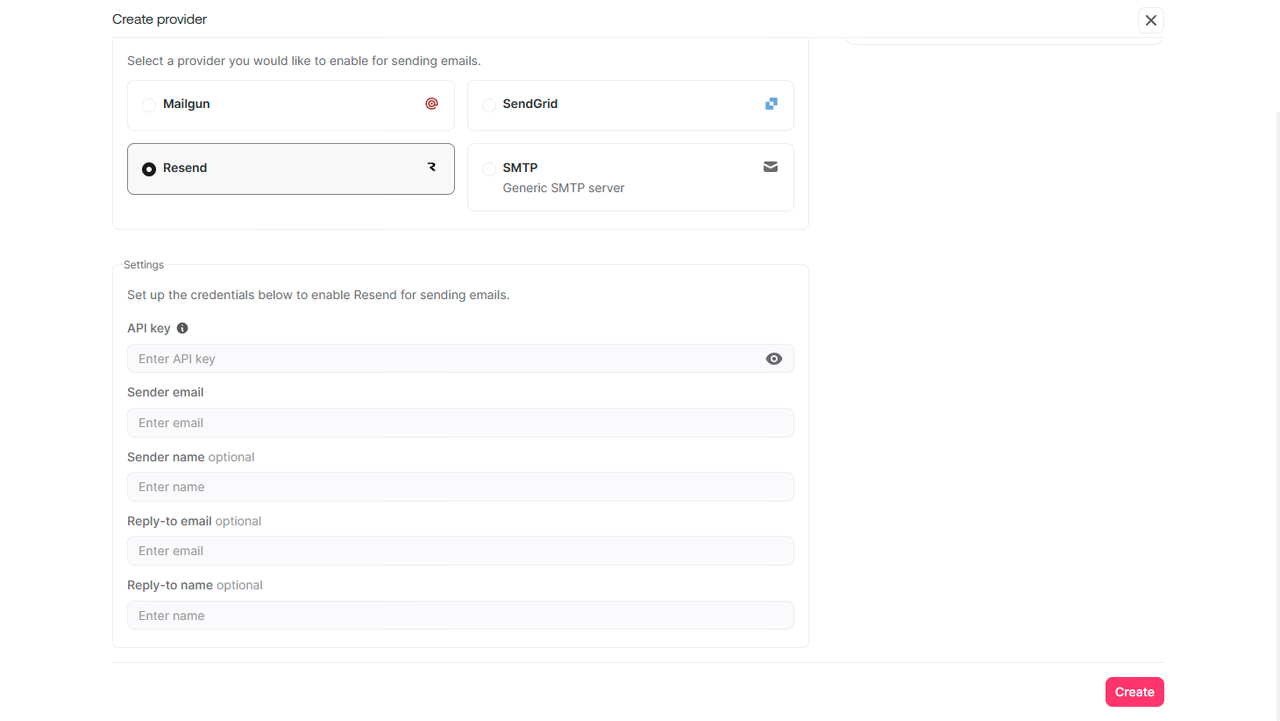
You will need to provide the following information from your Resend dashboard.
| Field name | |
|---|---|
| API key | Head to API Keys -> Create API Key. You can also follow Resend's instructions to create an API key. |
| Sender email | The provider sends emails from this sender email. The sender email needs to be an email under a verified domain in Resend. |
| Sender name | The sender name that appears in the emails sent from this provider. |
| Reply-to email | The reply-to email that appears in the emails sent from this provider. |
| Reply-to name | The reply-to name that appears in the emails sent from this provider. |
After adding the following details, click Save and continue to enable the provider.
3. Test provider
Before sending your first message, make sure you've configured a topic and a target to send messages to.
You can follow the Send email messages guide to send your first email message and test your provider.
4. Manage provider
Was this page helpful?
Share what worked or what we should fix. Once approved, our agents automatically apply suggested updates to the docs.