---
layout: article
title: Start with Web
description: Build JavaScript or Typescript web apps with Appwrite. Add authentication, user management, file storage, and more. Read our guide to get started!
difficulty: beginner
readtime: 3
back: /docs/quick-starts
---
Learn how to add Appwrite to your web apps.
## 1. Create project
Head to the [Appwrite Console](https://cloud.appwrite.io/console).
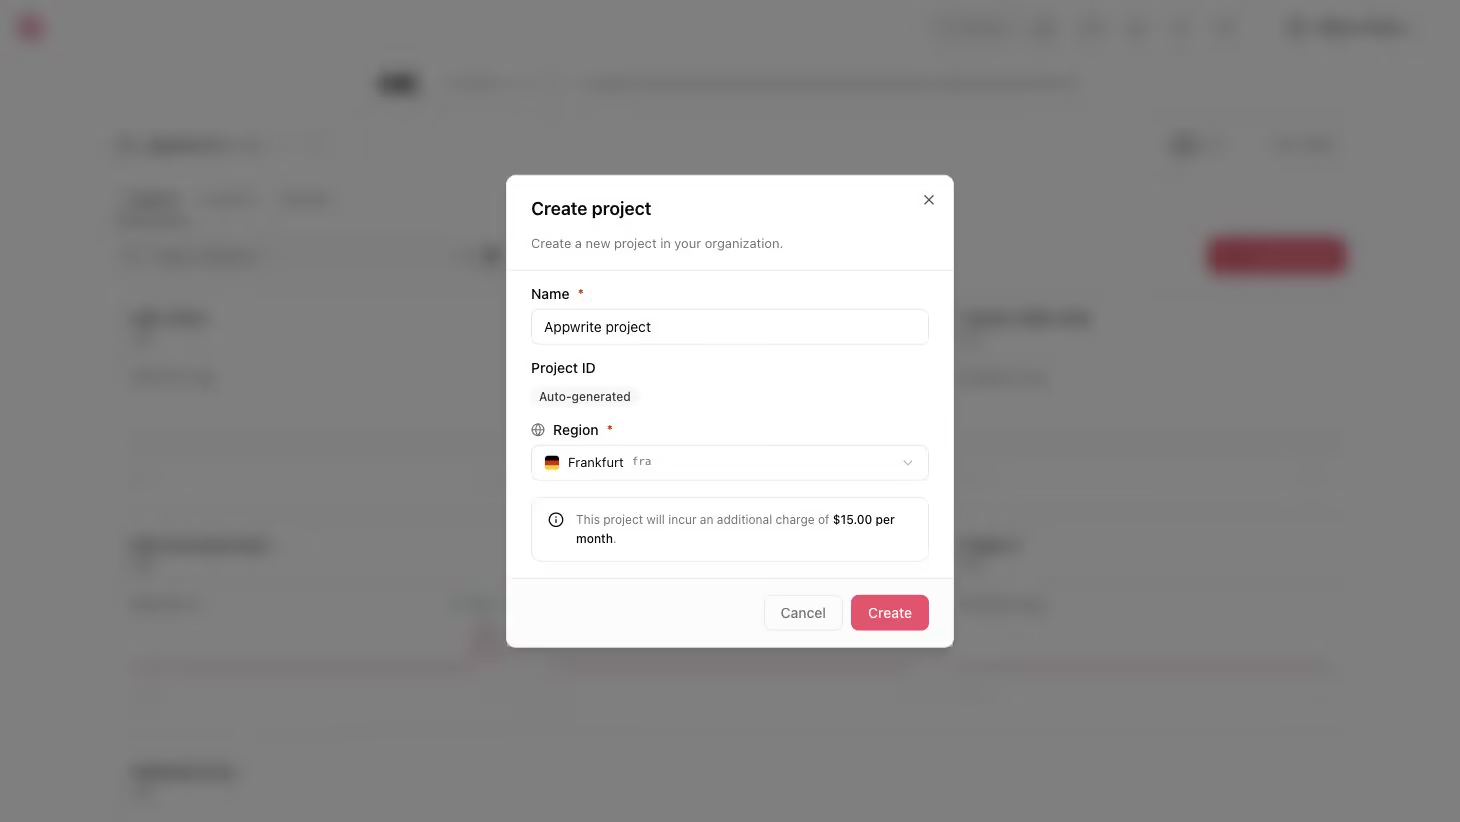
If this is your first time using Appwrite, create an account and create your first project.
Then, under **Add a platform**, add a **Web app**.
The **Hostname** should be `localhost` or the domain on which you're hosting your web app.
**Cross-Origin Resource Sharing (CORS)**
Adding `localhost` as a platform lets your local app talk to Appwrite. For production, add your live domain to avoid CORS errors.
Learn more in our [CORS error guide](/blog/post/cors-error).
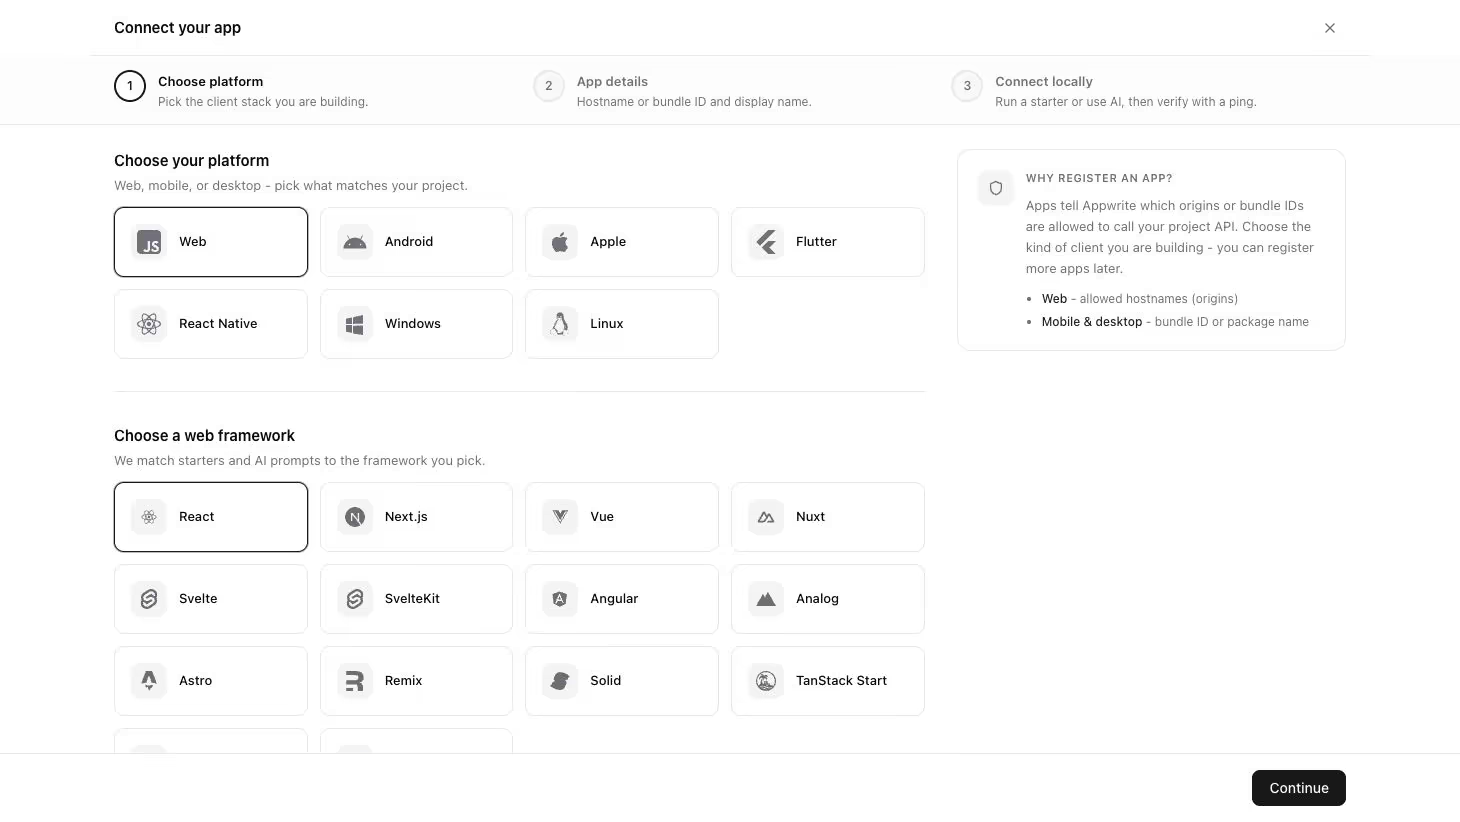
You can skip optional steps.
## 2. Install Appwrite
You can install the Appwrite Web SDK using a package manager.
```sh
npm install appwrite
```
You can also add the Appwrite Web SDK using CDN by adding a script tag to your HTML file. The SDK will be available globally through the `Appwrite` namespace.
```html
```
## 3. Initialize Appwrite
If you installed via npm, you can import `Client` and `Account` from the Appwrite SDK.
```client-web
import { Client, Account } from 'appwrite';
export const client = new Client();
client
.setEndpoint('https://.cloud.appwrite.io/v1')
.setProject(''); // Replace with your project ID
export const account = new Account(client);
export { ID } from 'appwrite';
```
If you're using CDN, the library loads directly in your browser as a global object, so you access it through Appwrite instead of imports.
```js
const client = new Appwrite.Client()
client
.setEndpoint('https://cloud.appwrite.io/v1')
.setProject('') // Replace with your project ID
const account = new Appwrite.Account(client)
const tablesDB = new Appwrite.TablesDB(client)
```
## 4. Using TypeScript
If you prefer TypeScript, you can import TypeScript models from the Appwrite SDK.
```ts
// appwrite.ts
import { Client, TablesDB, Account } from "appwrite";
// Import type models for Appwrite
import { type Models } from 'appwrite';
const client: Client = new Client();
client
.setEndpoint('https://.cloud.appwrite.io/v1')
.setProject(''); // Replace with your project ID
export const account: Account = new Account(client);
export const tablesDB: TablesDB = new TablesDB(client);
// You then use the imported type definitions like this
const authUser: Models.Session = await account.createEmailPasswordSession({
email,
password
});
```
## 5. Extending TypeScript models
Sometimes you'll need to extend TypeScript models with your own type definitions.
For example, when you fetch a list of rows from a table, you can define the expected structure of the rows like this.
```ts
interface Idea extends Models.Row {
title: string;
description: string;
userId: string;
}
```
When you fetch rows, you can use this new `Idea` interface like this.
```ts
const response = await tablesDB.listRows({
databaseId: ideasDatabaseId,
tableId: ideasTableId,
queries: [Query.orderDesc("$createdAt"), Query.limit(queryLimit)]
});
const ideas = response.rows as Idea[];
```
## 6. All set
The Appwrite SDK works with your favorite Web frameworks.
Learn to use Appwrite by adding authentication to a simple web app.
- [Next.js](/docs/quick-starts/nextjs): Get started with Appwrite and Next.js
- [React](/docs/quick-starts/react): Get started with Appwrite and React
- [Vue.js](/docs/quick-starts/vue): Get started with Appwrite and Vue.js
- [Nuxt](/docs/quick-starts/nuxt): Get started with Appwrite and Nuxt
- [SvelteKit](/docs/quick-starts/sveltekit): Get started with Appwrite and SvelteKit
- [Angular](/docs/quick-starts/angular): Get started with Appwrite and Angular
Learn to use Appwrite by building an idea tracker app.
- [React](/docs/tutorials/react): Get started with Appwrite and React
- [Vue.js](/docs/tutorials/vue): Get started with Appwrite and Vue.js
- [Nuxt](/docs/tutorials/nuxt): Get started with Appwrite and Nuxt
- [SvelteKit](/docs/tutorials/sveltekit): Get started with Appwrite and SvelteKit
## 7. Type safety with TypeScript
## Type safety with TypeScript
For better type safety in TypeScript projects, define interfaces and use generics:
```typescript
interface User {
name: string;
email: string;
isVerified: boolean;
}
import { Client, TablesDB } from "appwrite";
const client = new Client()
.setEndpoint('https://.cloud.appwrite.io/v1')
.setProject('');
const databases = new TablesDB(client);
// Type-safe database operations
try {
const users = await databases.listRows({
databaseId: '[DATABASE_ID]',
tableId: '[TABLE_ID]'
});
users.rows.forEach(user => {
console.log(`User: ${user.name} (${user.email})`);
});
} catch (error) {
console.log(error);
}
```
**Generate types automatically**
Use the [Appwrite CLI](/docs/products/databases/type-generation) to generate TypeScript interfaces automatically: `appwrite types ./types`