---
layout: post
title: Share your resume using Appwrite Functions
description: How you can create a resume using HTML and use a Bun Appwrite Function to share it with the world.
date: 2024-03-07
lastUpdated: 2026-06-29
cover: /images/blog/bun-function-resume/cover.avif
timeToRead: 7
author: aditya-oberai
category: tutorial
faqs:
- question: "Can Appwrite Functions return HTML instead of JSON?"
answer: "Yes. Appwrite Functions can return any text-based content type including HTML, plain text, CSV, and XML. You set the `Content-Type` header on the response and Appwrite serves it as-is, which is what lets a function host a full HTML page like a resume."
- question: "How are Appwrite Functions accessed as REST endpoints?"
answer: "Every function can be reached over HTTP, with support for `GET`, `POST`, `PUT`, `DELETE`, and other common methods on any path. You can route based on path and method inside the function code, which means a single function can act as a small web service. See [Appwrite Functions](/docs/products/functions) for details."
- question: "Why use Bun instead of Node.js for a function like this?"
answer: "Bun has faster cold starts and faster install times, which keeps function execution snappy. It also supports TypeScript natively, so a small function like an HTML resume does not need a build step. Both Bun and Node.js are first-class runtimes in [Appwrite Functions](/docs/products/functions)."
- question: "How do I include static files inside an Appwrite Function?"
answer: "Put them in a `static` folder at the root of your function and read them at runtime using the standard file APIs in your runtime. Bun lets you do `Bun.file('static/resume.html').text()` to load the file, which then gets returned in the response body."
- question: "Is hosting a resume on an Appwrite Function cheaper than a regular website?"
answer: "It depends on traffic. For low-traffic personal sites, the Appwrite free tier and the per-execution pricing usually come out to almost nothing. For high-traffic sites, regular static hosting or [Appwrite Sites](/docs/products/sites) is probably a better fit because there is no per-request execution cost."
- question: "Can I add a custom domain to an Appwrite Function?"
answer: "Yes. Appwrite supports custom domains for functions, so you can map something like `resume.example.com` directly to your function. Once DNS is configured and the domain is verified, hits to that domain are routed through your function and the HTML is served."
---
One of the coolest things about Appwrite Functions is that you can now consume them as REST APIs. This means you can send HTTP requests to any path, using common HTTP methods such as `GET` and `POST` to any path on the function and get a response in JSON or any other text-based formats (such as plain text, HTML, and CSV). This has opened up a lot of potential use-cases, one of which is how you can host and share your online resume through an Appwrite Function when applying for a new job.
Therefore, in this blog, we will leverage one of Appwrite’s newest functions runtimes, Bun, to create a function that delivers an HTML-based resume.
# Pre-requisites
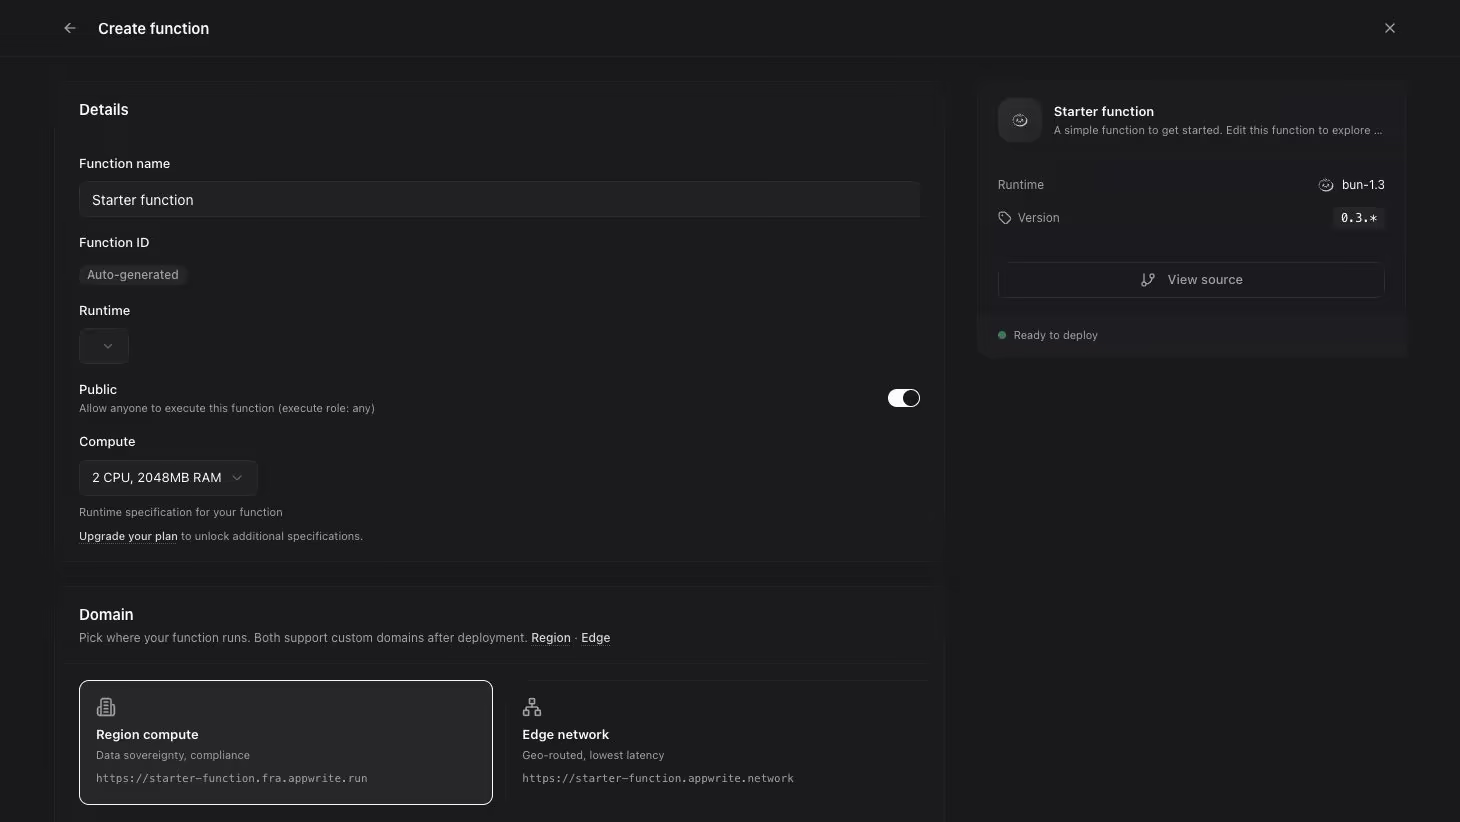
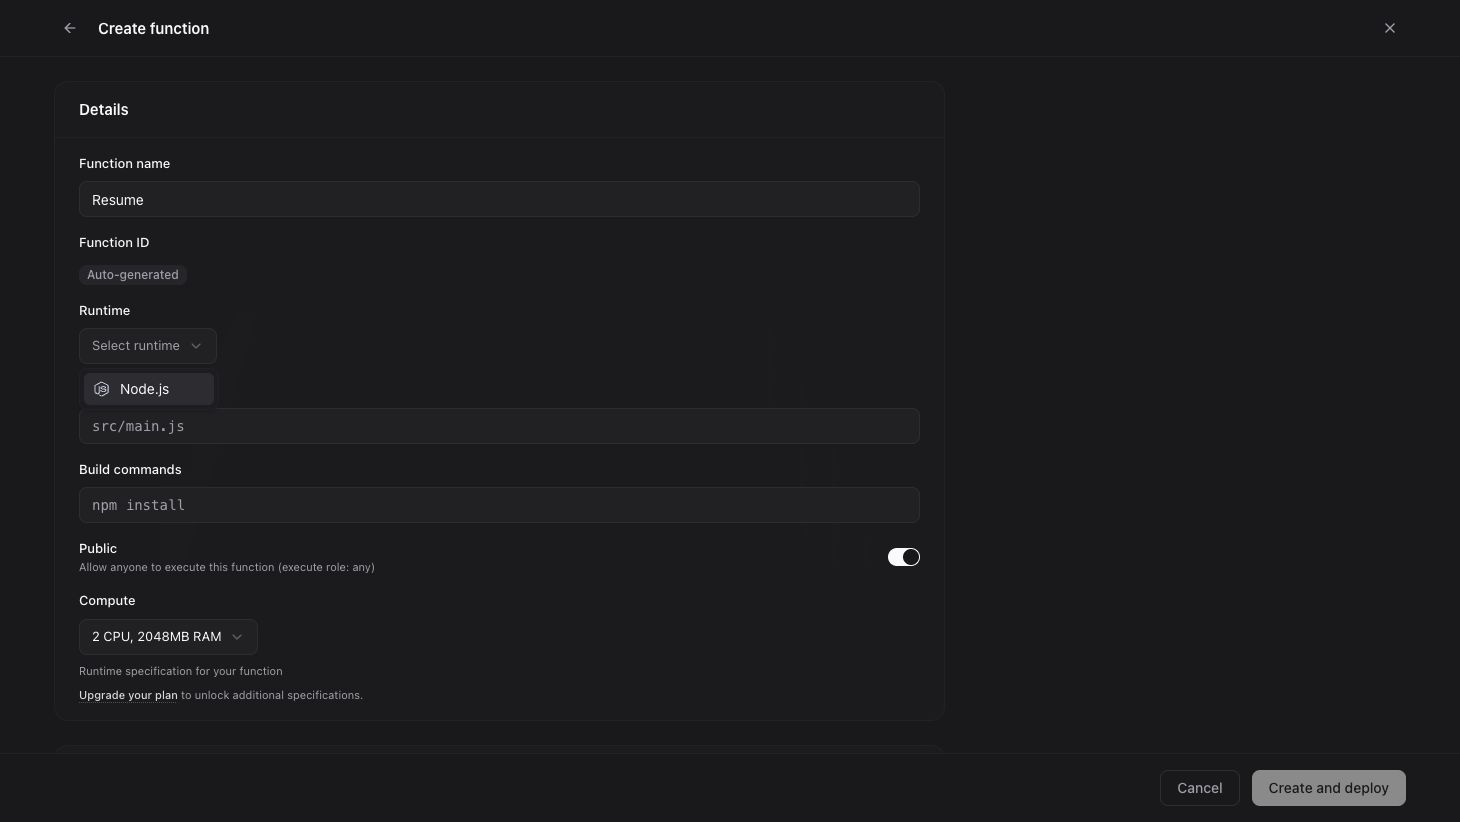
To create the Appwrite Function, you must go to [Appwrite Cloud](https://cloud.appwrite.io) and create a new project. Once a new project is created, you must visit the **Functions** page. Once you click on the **Create a new function** button, you will discover a number of starter templates, of which you must select **Bun**. Once you have created a starter function with Bun and connected your GitHub account, we are ready to begin developing our resume function.
# Building the Appwrite Function
Once your function’s GitHub repository is ready, clone it to your local device and enter the directory. You will notice a directory structure as follows:
```md
.
├── src/
│ └── main.ts
├── README.md
├── bun.locklb
└── package.json
```
## Creating the HTML resume
First things first, let’s create an HTML resume. We will create a folder `static` at the root level of our project directory and add a file `resume.html`. We will then add the following HTML to this file:
```html
Resume
John Doe
Software Engineer
Work Experience
Software Engineer, ABC Company (Jan 2019 - Present)
- Developed APIs for aggregation and analysis of automotive sales data using .NET 5
Education
Master of Science in Computer Science, XYZ University (2017 - 2019)
Bachelor of Engineering in Computer Science, XYZ University (2013 - 2017)
Skills
- Programming Languages: JS, TS, C#, Java, Python
- Frameworks: .NET, Spring Boot
- Database: MySQL, MongoDB
- Cloud: AWS, Azure
Projects
Project 1
- Developed a web application for online shopping using Spring Boot
Project 2
- Developed a web application for calendar management using ASP.NET
Contact Me
- Email: john.doe@test.com
- Phone: 1234567890
```
> Note: You can customize this file in any way you want. The only thing I recommend, however, is to keep the styles within the same file, as the function will only deliver the content of this particular file at a time.
## Preparing our utility function to get the HTML content
To simplify the function logic, we create an additional utility function to help easily read the content from our HTML resume and return it as a `string`. This is necessary to deliver the content as a response from our function.
For that, we shall enter the `src` folder and create a file `utils.ts` with the following code:
```ts
import path from 'path';
import { fileURLToPath } from 'url';
import fs from 'fs';
const __filename = fileURLToPath(import.meta.url);
const __dirname = path.dirname(__filename);
const staticFolder = path.join(__dirname, '../static');
export function getStaticFile(fileName: string): string {
return fs.readFileSync(path.join(staticFolder, fileName)).toString();
}
```
## Developing the function logic
Now that our HTML resume and utility function are ready, we can develop our final function logic. For that, we shall enter the `main.ts` file in the `src` folder and replace it with the following code:
```ts
import { getStaticFile } from './utils.js';
export default async ({ req, res }) => {
if (req.method === 'GET' && req.path === '/') {
return res.text(getStaticFile('resume.html'), 200, {
'Content-Type': 'text/html; charset=utf-8',
});
}
};
```
This function will return our HTML resume content with the appropriate content type when we send a `GET` request to the default path of our function domain.
At this point, our project directory structure should look as follows:
```md
.
├── src/
│ ├── main.ts
│ └── utils.ts
├── static/
│ └── resume.html
├── README.md
├── bun.locklb
└── package.json
```
## Testing the function
Once you’ve completed all the aforementioned steps, you can push the code to our GitHub repository, at which point Appwrite Cloud will automatically deploy the changes to your function.
You can then go ahead and test your function by opening the function domain in your browser.
Here is what an example of this looks like: [apwr.dev/bun-functions-resume-demo](https://apwr.dev/bun-functions-resume-demo)
# Next steps
And with that, you have successfully deployed your resume using Appwrite Functions. If you liked this project or want to investigate the full project code, visit our [GitHub repository](https://github.com/adityaoberai/resume-appwrite).
Additionally, if you would like to learn more about Appwrite Functions, here are some resources:
- [Appwrite Functions docs](https://appwrite.io/docs/functions): Learn more about how to use Appwrite Functions.
- [Bun functions announcements](https://appwrite.io/blog/post/why-you-need-to-try-the-new-bun-runtime): Read the full announcement about our Bun functions runtime.
- [Appwrite Discord](https://discord.com/invite/appwrite): Connect with other developers and the Appwrite team for discussion, questions, and collaboration.